Monday, June 20, 2011

Wire-wrapped ring

I may have mentioned before that my husband is a geologist.  A couple of years ago he went on a field trip and came home with a large chunk of mud. (This is not an unusual occurence.) But it wasn't just any mud, it was mud with pyrite in it.  So we put it in a bowl and covered it with water and spent the next couple of days sticking our hands into it and fishing out what turned out to be hundreds of little pyrite crystals.  And as cool as they are, they just sat in a bowl for the next 2 years.

Then a couple of weeks ago I was at Urban Outfitters and I found a pyrite ring.  And their pyrite was not even as pretty as our pyrite.  So I obviously had to make a ring out of our pyrite that was way cooler than theirs.  Here's how I did it:
 I started out with about 2 feet of wire and wrapped it around something slightly bigger than my finger (in this case, a tube of lip gloss).  There was still plenty of wire left on each end.
 Then I positioned the pyrite in the middle of the ring and wrapped the wire around it.  I kept wrapping around the rock and around the ring until it felt secure.
 I wrapped the leftover wire around the round part of the ring several times.  Then I just clipped the wire and clamped it down so that it wouldn't poke out.
 Here is the finished product.  It definitely has that earthy, homemade look, which really works for it since it's just a rock that we fished out of a peice of mud.  I love it.

Monday, June 13, 2011

How I made the dress (finally)

Sorry, guys.  My computer and I had several fights last week and my attempts to post were all in vain.  Fortunately, we are getting along now so here is the very rough tutorial for the dress.
Here are the peices for the bodice.  As you can see on the back two, I sewed a little bib on the inside for extra support.  Another weird thing is that I didn't cut the peices out all at once.  I cut the bodice, then when I was sure it fit right, I cut the midriff panel, and so on.  That way if I have to alter something, it's only one section, and not the whole dress.
 After sewing the bodice peices together, I did a gathering stitch right under the bust.  If you're not sure where you should put it you can just try it on and draw little contour lines under your bust. Worked for me.
 Then I sewed on a big chunk for the midriff panel...
 And sewed a gathered 12" wide strip of tulle to the midriff, like a sash.  It ended up being my favorite part of this dress.
I did a gathering stitch for the skirt and attatched it to the midriff panel. 
The only thing left after that was attatching the invisible zipper, attatching the sleeves, and hemming.  I'm not going to show pictures of those steps because I absolutely hate those steps and I'm pretty sure I did them wrong anyways.  I'm just telling you about them so you don't think I wore a sleveless, backless, unhemmed dress out to dinner.
 
Not bad for less than $20.

Tuesday, June 7, 2011

Happy anniversary! How about a dress?

Earlier this month I kept thinking that my anniversary was on Monday.  It wasn't. My husband actually had to remind me that it wasn't.  On our real anniversary, though, he scored major points by getting me peonies.  They were the flower that I requested for our wedding, but my florist said that they would be out of season.  She was wrong.
 
 But since we hadn't ever gone out by ourselves for our anniversary, I decided to go all out and make this dress.  From scratch.  Without a pattern.  It kind of made me feel like superwoman (in Cindarella colors, of course).
 Yep, we had a great time.  And I totally stole my mom's necklace to wear with the dress.
I made a rough tutorial for it, so that will come soon!

Friday, June 3, 2011

easy sequin refashion

So easy words are not required.  (I love sequins.  Maybe I spend too much time with teenagers, but I love them.)


+


+


=


Simple math. 

Anthropologie Flower Tee

Finally, I know.  I saw this tshirt and absolutely loved it.  The thing that I loved the most about it, however, was the fact that I could easily make it myself.

Theirs:

Mine:


To make this shirt, start with a plain black tshirt.  (Mine was a 97 cent GAP outlet find from 5 years ago.)  I thought seriously about buying every single one they had, but for some reason I stuck with just one.  Poor decision.  :( 
Gather fabric scraps in 4 different shades of gray, black, and white.  I used an old black camisole that had paint on it, off-white fleece from who-knows-where, gray jersey material left over from a pillow I made for a coworker (I will post about that later....) and some gray fabric I used for a pencil skirt at one point.


Take your fabric and fold it in half. With a pen, trace petal shapes in three different sizes on your fabrics.  (It's up to you how much of each color you want.  I made a few more than I was planning on using so that I could adjust to my liking when I put them on the shirt.)  The longer petals should be about 10 inches long, the medium-sized petals about 6.5 inches, and the small ones 5 inches.


When you cut them out, you should get two identical shapes (this is why you folded the fabric in half first.  Stitch the two pieces together, leaving the flat end open.  


Flip the petals right-side out so that the seams are hidden.  There is no need to close the end, as they will be covered on the shirt.


Now, just place the petals (starting with the larger ones) in a flower shape on the shirt.  Once you have an idea where you want everything placed, sew the larger petals down first, then layer the smaller ones on top. Cut out about 5 circles (about 2.5 inches in diameter) and sew them over the ragged edges.  Your shirt should now look something like this:


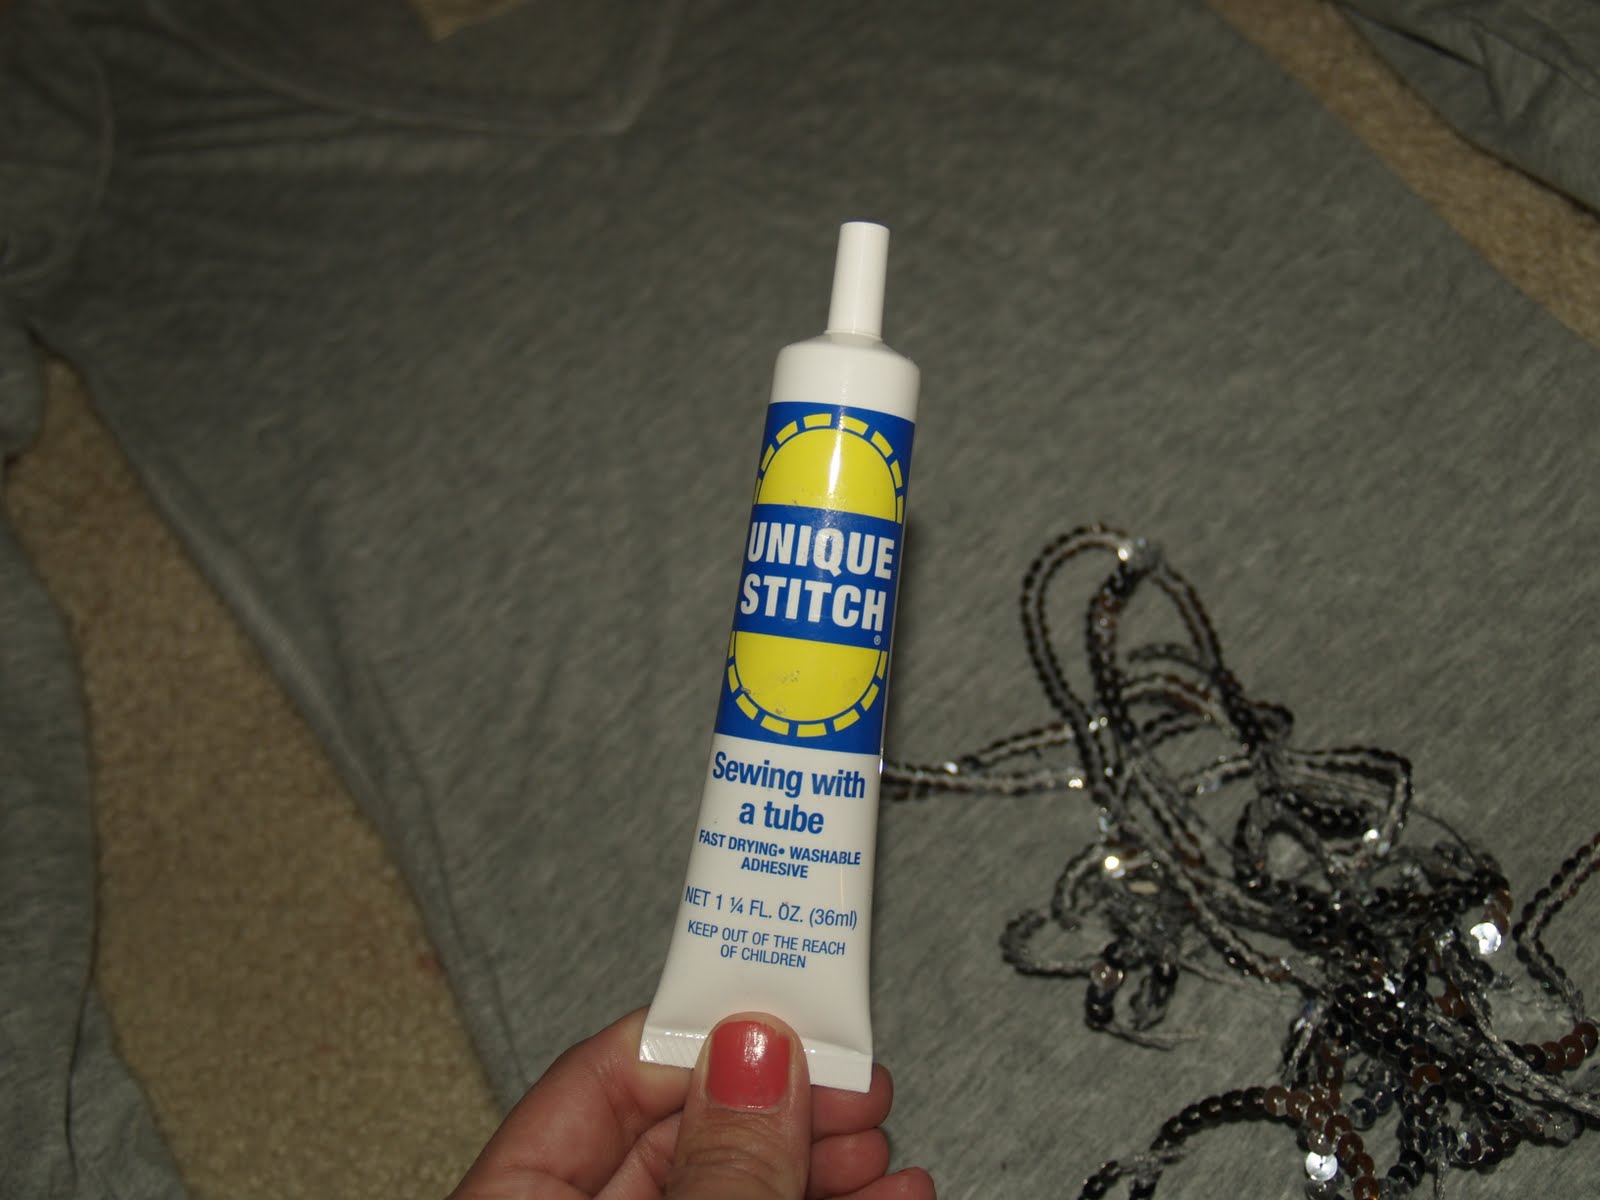
And the inside:  (kind of looks like one hot mess, but that's okay.  Nobody can see the inside of your shirt.  And in case you can't tell, I didn't always get along with the bobbin on this project.)