Thursday, May 19, 2011

DIY: shirt makeover (man style)

I had no idea, but it turns out my sister's boyfriend is also very crafty.  He has been studying crafting blogs for a while now, and this is his first clothing redo.  Not bad for a first try. 
Here is Landon's DIY shirt makeover...

Next time you wake up and can't find a v-neck undershirt, just follow Landon's simple steps.

1. Pull a out a crew neck t-shirt
2. Grab a pair of scissors or a knife (I prefer a knife, it creates a nice jagged edge on the v)
3. Cut


These shirts are great at showing off dark chest hair. Cut a v in the back if you have nice back hair as well. 


(In case you didn't know, this post was meant as a joke.  haha)


And this is Landon's version of a window shade.  No ruffles, but quite functional.... (there is a window behind that blanket.)

my very first sewing project

And it was not necessarily my best.  But I still wear it, so I wouldn't call it a complete fail.:  (You have to look really closely to see that I even did anything to it.  It's a royal blue shirt with navy blue ribbons sewn in a wavy pattern across the front.)  Luckily, my sewing skills have come a long way since then!  (The second picture shows much better what the front of the shirt actually looks like.  I need for it to stop raining here in DC so I can actually get some good pictures.


Tuesday, May 17, 2011

feature

Misty from Creative Itch featured my Trench Coat Makeover today for Sew Cute Tuesday.  Go check out her blog - there are so many great sewing projects.  Thanks, Misty!!


Photobucket

Sunday, May 15, 2011

A chair makeover you will not believe

I don't know if you noticed or not, but Brittany has done most of the posting lately.  Sorry, guys.  In the past 3 weeks I was left without a camera, had to pack and move, got sick, and went on vacation to Idaho.
Before
But while we were in Idaho, my mother-in-law asked my husband to reupholster a chair.  No, he had never done this before.  But if you know him at all, you know that he is meticulously good at everyting he does, and he decided he could do this. Here's how it goes.

He started off by removing all of the fabric from the chair.  This required pulling off some very old nailhead trim and yanking hundreds of staples. 

It was important to notice in what order the peices came off.  He labeled them and drew an arrow to indicate which side was towards the top of the chair.

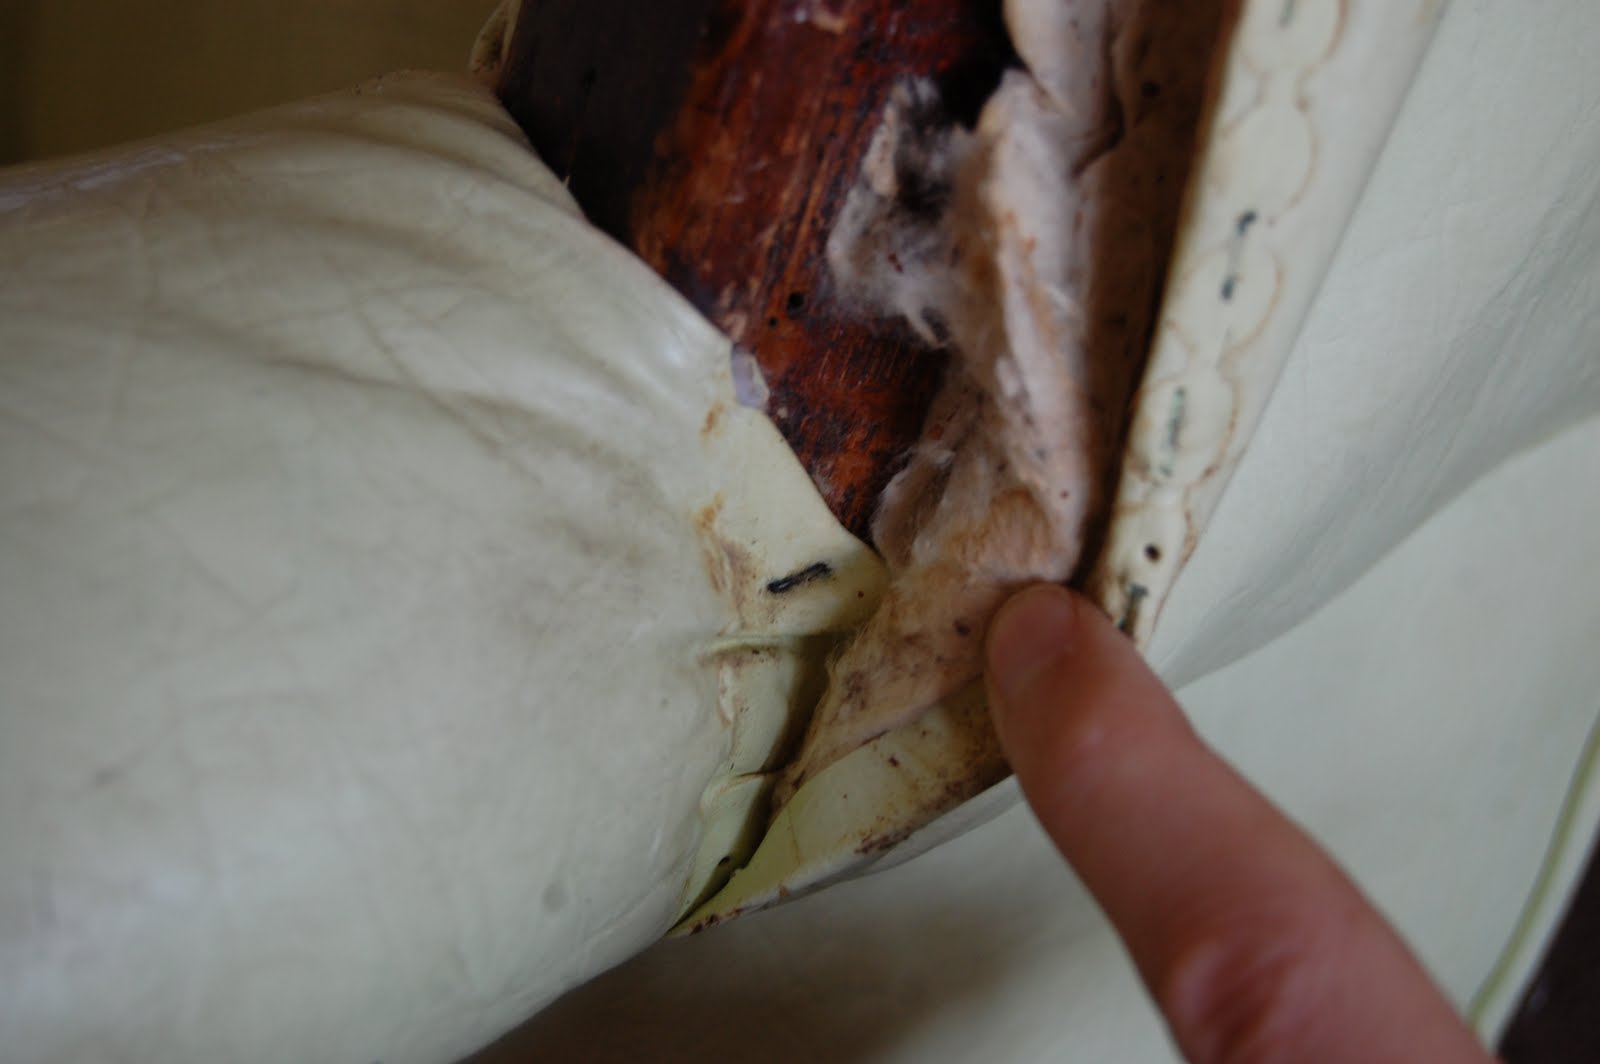
Then it was time for me to freak out.  I never realized how ugly chairs look when they're naked.  This one was also who-know-how old, and looked like it had been stuffed with birds' nests and asbestos.  We had to make some structural adjustments.

We laid the peices out to see how much fabric we needed (it ended up being 5 yards of 54" material) and cut them out of the new material.  I was surprised at how little sewing was actually required; most of the work is pulling and stapling (a good staple gun is a must for this project).  For those parts, you don't need a very precise cut because you can just trim any excess at the end.

Then he started putting it back together, remembering how he took it apart.  This isn't a very good picture but you can see the staples around the wooden part.  For the wing we had to pleat the fabric by hand, tuck in the edges, and staple it as close to the wood as possible.  It wasn't as hard as it sounds.  The staples will be covered up with a braided trim later. The original ones were covered by nailhead trim.

The back was nailed on by some tacks left over from the nailhead trim.  These didn't have to be covered up like the staples.

And here is the final product (minus the braided trim).  I know what you're thinking-- "Would it kill him to do it a little less perfectly?  Because he's making the rest of us look like losers."  Yeah, this is pretty awesome.

Saturday, May 14, 2011

another dress makeover

One thing I love about owning a sewing machine is that I can buy anything on clearance, whether or not it's my size.  So I bought this dress (6 sizes too big) for $7 at the GAP.  It's actually a really cute dress.  

Before and after:

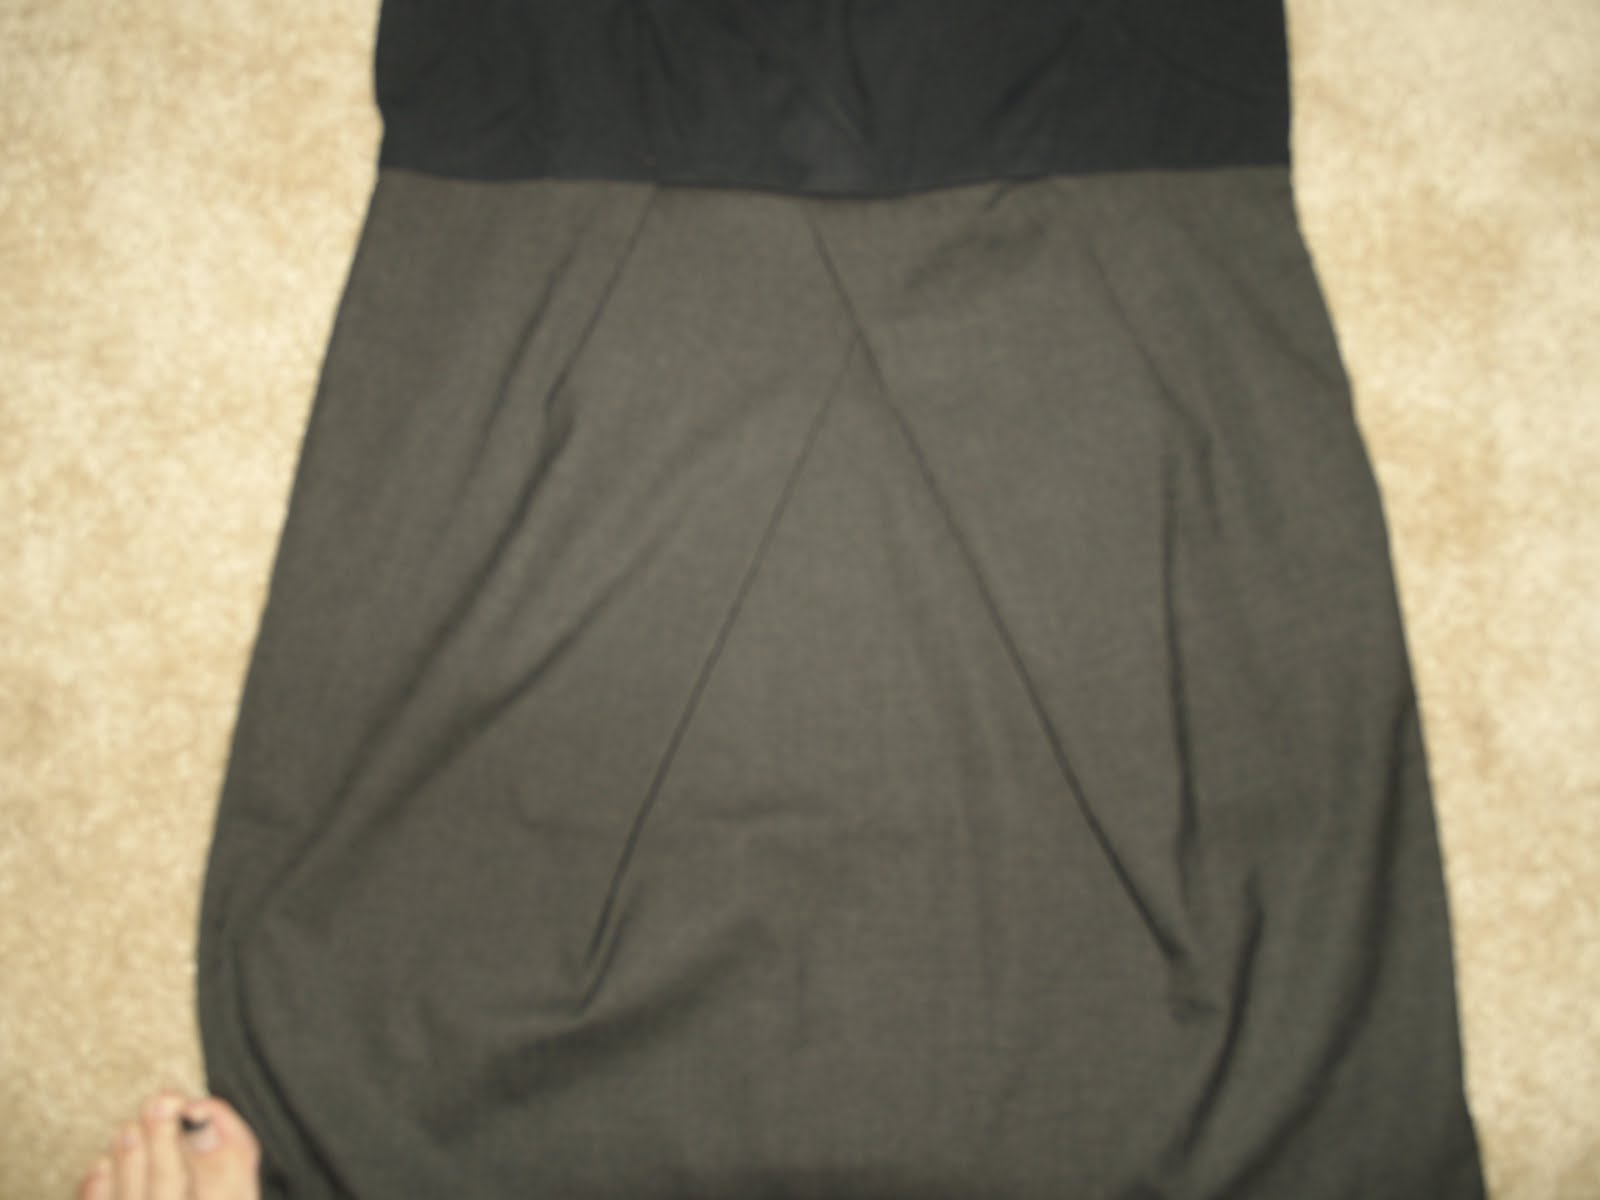
The top is navy blue with a gray skirt attached.  I love the pleats on the front of the skirt, so I didn't want to mess with them.  Usually, when I take something in, I like to take it in on the sides.  It's easy and a lot more forgiving than trying to fit the curves along the back of the dress.  Unfortunately, this dress had a zipper on one side, so I was forced to take it in along the back seam.

I turned the dress inside out, matching up the side seams so that it would be even.

Then I placed a skirt on top to gauge how much material should be taken off.  Then I stitched away, tried it on, stitched some more, and repeated the process for what seemed like forever before I liked the way it fit.  (Too bad I don't have a dressform.  It would make my life so much easier.  But hey, what can you do?)

The pleats on the top front also needed to be taken in.  (I am not a large girl, and the poofiness created by the pleats looked a little bit ridiculous on me.)

Then I realized that I had some scrap material left over from another GAP clearance find ($1.50) that I took in.  So I bunched up the material and lightly stitched it around the neckline.  (I just put a few small stitches in between the bunches to keep the volume.)  Then I shortened the sleeves, and tada!  I had a whole new dress.


Final Product:


After taking these pictures, I took the hem out a little bit to add some more length.  After all, I teach high school physics and do a lot of demonstrations that require me to lean over to flip switches, pick things up off the floor, etc.  The last thing I need is for a bunch of 17-year-old boys to be able to see up my skirt.  (Not that I'm really a fan of anyone looking up my skirt, but still....)

Friday, May 13, 2011

just a couple things i made

*Update:  There have been a lot of requests for a full tutorial for making this shirt.  I will make one and post it by the end of the day.  Sorry for the delay!

My attempt at copying this shirt:  (From Kate Spade, for somewhere around $200):


It used to be a long-sleeved striped t-shirt, but I cut the sleeves off and used the material to make strips that I bunched up and sewed into circles on the front of the shirt.  In the very middle, I stitched a small square of fabric just to fill in the gap.


Now for the tutorial.  Unfortunately, I didn't take pictures during the initial process, but I re-made the shirt so that you can repeat the process if you would like.  I promise, if you have used a sewing machine before, it's a pretty easy project.

Start with a long-sleeved (preferably striped) tshirt.  Cut off the sleeves, and then cut the sleeves open along the seam, as shown:  (Let's pretend this shirt is actually striped, kay?  Okay.)


Cut the ends off of the sleeves (since they are most likely not striped) and then cut one sleeve into 2-inch wide vertical strips (so that you are cutting through the stripes) and the other sleeve into 2-inch wide horizontal strips (along the line of the stripe).  You will end up with two stacks of fabric strips looking like this:


Start with the strips that have the longer stripes on them.  (The ones on the bottom in the picture above.  The strips themselves will be shorter, but you will have more of them so it'll all even out.)  Lay them out in pleats in a circular pattern on the front of your shirt.  (If you need help, you can trace a cup or something to make the circle.  I'm a teacher so I used a compass, but if you don't have a compass lying around, anything round will work fine.)  The only things to be careful of here are that (a) your circle is centered and (b) you cover up the places where your strips overlap so it looks like one continuous line of fabric.  Pin the pieces into place and stitch onto the shirt.  (Don't stitch through the back of the shirt.  That is annoying to fix.  Trust me.)


 Tada!!

Now take the other set of strips with the shorter stripes and repeat this process.  Make sure that this layer is both centered and covers the stitches on your previous circle of pleats:


Repeat this process, alternating between stripes until you reach the center of your shirt.  Then take a scrap of striped fabric, bunch it, and stitch it to the very center of your flower.  You can add a little bead or embellishment in the middle if you want. (You can see a small one in the picture above.)

*NOTE:  It helps A LOT if you iron after sewing on each layer of pleats.  It will give you a much cleaner look and will help the fabric lie flat and stay in place.  I'm lazy, so mine's a little messier.

Your final product should look something like this:


If your fabric is really flimsy and you want the flower to lie a little more flat, you can use some liquid stitch to secure some of the more unruly pleats.  Overall, the project should take no more than 1-2 hours.  Best of luck, and let me know how they turn out!!!  (Again, sorry for the delay.  Oopsie.)


The earrings I'm wearing were made by Elena Henson herself. (Have I mentioned how great that kid is?  Okay, maybe not so much a kid anymore but I still remember her as my 15-year-old student.  It's always nice to know that the kids I'm teaching end up doing awesome things with their lives.  It probably has nothing to do with me (I'm pretty sure we have her parents to thank for that) but it still feels pretty darned good.

 A pillow:  I used some deep purple scrap felt and stitched it to an off-white dinner napkin that my mom bought on clearance for about 25 cents.  (I bunched the felt as I was stitching to give it some dimension.  I also added another (skinnier) row of felt to the ruffles kind of stand up on the pillow.  Incidentally, napkins fit almost perfectly around most standard-sized throw pillows.   So after attaching the felt, I stitched three sides of the napkins together, inserted the pillow, and then stitched the top together to close it off.  Very cheap, very easy.  That's my kind of project.


copycat

Remember the skirt that Kayla dyed?  And remember how much cuter it was than the original?  I decided to copy her idea.  I had two white skirts in my closet, both with very similar shapes.  Totally unnecessary, right?  So I took one and dyed the bottom 2/3 yellow with Sunflower Yellow Rit dye.  This is how it turned out:


I was totally planning on dying the top part blue, but I realized that I really kind of liked the yellow and white.  So I'm going to leave it as-is for a while before I add the blue.  That way it's like two totally new skirts!  Nobody will ever know.  And I am all about getting more bang for my buck.